Welcome, traveler
This is my personal site where I host various projects I work on from time to time. These include web applications, plugin files for Morrowind and Skyrim, guides, and more. More stuff will be (slowly) added over time, so check back often!
Mod: Teleport Tomes Updated
This mod adds spell books to each major city, minor city, village, player home, and some faction locations.
Mod: Balmora House v4.0
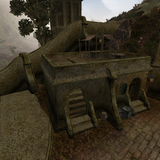
My Labor Town house has been updated! See below for the changes!
Mod: Teleport Tomes
This mod adds spell books to each major city, minor city, village, and some faction locations.
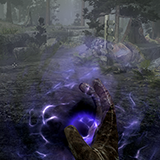
Mod: Heroic Vigor
This mod is my implementation of the slow regeneration of health and magicka of later Elder Scrolls games, but in Morrowind.
Mod: Balmora House
Adds a fairly large manor house to the north end of Labor Town (the east side of Balmora). Includes ample storage space! Armor mannequins! Kegs for efficient booze storage!
↑ Top of Page